A simple reusable shader for VFX in Unity using Amplify Shader Editor
- Alexander Clark

- Nov 8, 2021
- 4 min read

Hi! in this post I will break down one of the main shaders I use for VFX in Runes of Time. The main goal I had for this shader was to make it as reusable as possible to save on runtime and variation costs.
Core Concepts
For starters, I will cover the simple concepts I used to make the main VFX shader in Unity and then I will go into a simple breakdown of the actual shader. I primarily use this shader for trails, explosions and projectiles which Runes of Time has a lot of.
These are the 3 simple concepts that I used to make the VFX shader.
Panning the texture so it appears to be animating
Warping the texture for secondary motion
Dissolving the texture to give it the appearance of fading out.
Panning
Aka just moving the texture in one direction to give it motion. This is done by adding the UV coordinators with the Time node, you can control the direction and speed of the panning by multiplying the Time node with a vector 2, each channel will add or subtract their corresponding values from the UV coordinates, pushing the gradients in each channel around, this causes the "pixels" that the texture is mapped to shift in position and causes the texture to move.
Here is an example:

Warping
Warping is achieved by creating a set of UVs made from generated noise or a texture and combining it with a clean set UVs. This works because the UVs the texture gets mapped to are pushed into different directions. You can also use the panning technique above to animate the warping effect!
Here is an example:

Dissolving
The dissolving effect is pretty simple and can be done in a few different ways, for this segment I will show one way to do it but the concept is pretty much the same for the other ways as well. The idea is to use a mask to control how bright the "pixel" is at a certain point in the texture and if it's below the mask's color threshold it gets omitted and returns black. Using the panning trick from above and warping examples from before we can now use the step node with a mask texture or gradient to create the dissolve effect, I simply multiplied the warped UVs output with the step node to give a better example of the warping effect.
Here is an example:

From the step node you can use the output as a mask for coloring or use it for the Material Opacity Input with AlphaClip enabled for a stylized fire look.
Breakdown
As mentioned at the start of this post I made this shader to cover some simple requirements, animations, warping and dissolving. So it is primarily build up of those core concepts with expanded functionality.

The shader is broken up into 3 main parts, UV's, dissolving and colors.
UVs
As shown at the start, it all begins with some simple UV warping. It isn't much different from what I explained at the start of the post but I am creating my own warping UVs so I can input custom textures that I've created in substance designer. The goal is to make most of the parameters accessible so I can cover a wide range of uses. I planned for two scenarios.
I should have complete control over the warping effect, whether I want it or not, the scale, direction or speed and how strong it will affect the Mask UVs.
It should be able to handle trails and simple scrolling effects for explosions and projectiles and radial effects.


The radial UVs are toggle-able by a boolean and allow the creation of aoe effects pretty easily, such as ground slams or indicators fading in and out without texture seams. Luckily Amplify Shader Editor provided a node that handles this so I didn't bother with creating my own.
After the UVs were setup I passed them into the Mask texture and added a boolean to toggle the input between planer or radial UVs. I'm also adding parameters to control the brightness and power from the Mask output.

Dissolving
The next segment is dissolving the mask as it animates. Most of this segment is simply modulating the incoming texture warping UVs. At the end of the Dissolve Mask area, I am also creating an offset variation of the mask and appending it into a second channel so It can be referenced later. This is a handy trick called channel packing and can be used to reduce repetitive operations. I do the packing before the power node because the texture cannot be offset after the power node.
Below I am also creating a radial mask using the length node, it's easier to do this than use my own texture because of how unity handles compression on textures with circles on it, especially on large radial effects where lots of stepping can occur.

The next part is to create the effect by using the step node to combine the Mask Texture with the Dissolve Mask. I am actually doing this with two separate approaches for two different effects.
In the image below, in the top white box, I am using the step method with a gradient control, the idea is that I can fade in and out the effect in a particle system using custom UVs.
In the red box, I am splitting the aforementioned packed channels with the texture offsets and creating two stepped masks, one for the material opacity and one for coloring. This creates a stylized outline effect that can be used for trails. At the end there is a switch that lets the user select between each effect.

Colors
The final step is to use the masks created to create zones for coloring. This is a pretty straight forward process as all I am doing is using a Lerp node to switch between two colors. If the Trails boolean is set to true then the Trail Colors node segment will be used to overlay colors on top of the Lerped base colors, this is a style choice. At the very end you can also see where the dissolve opacity mask come in.

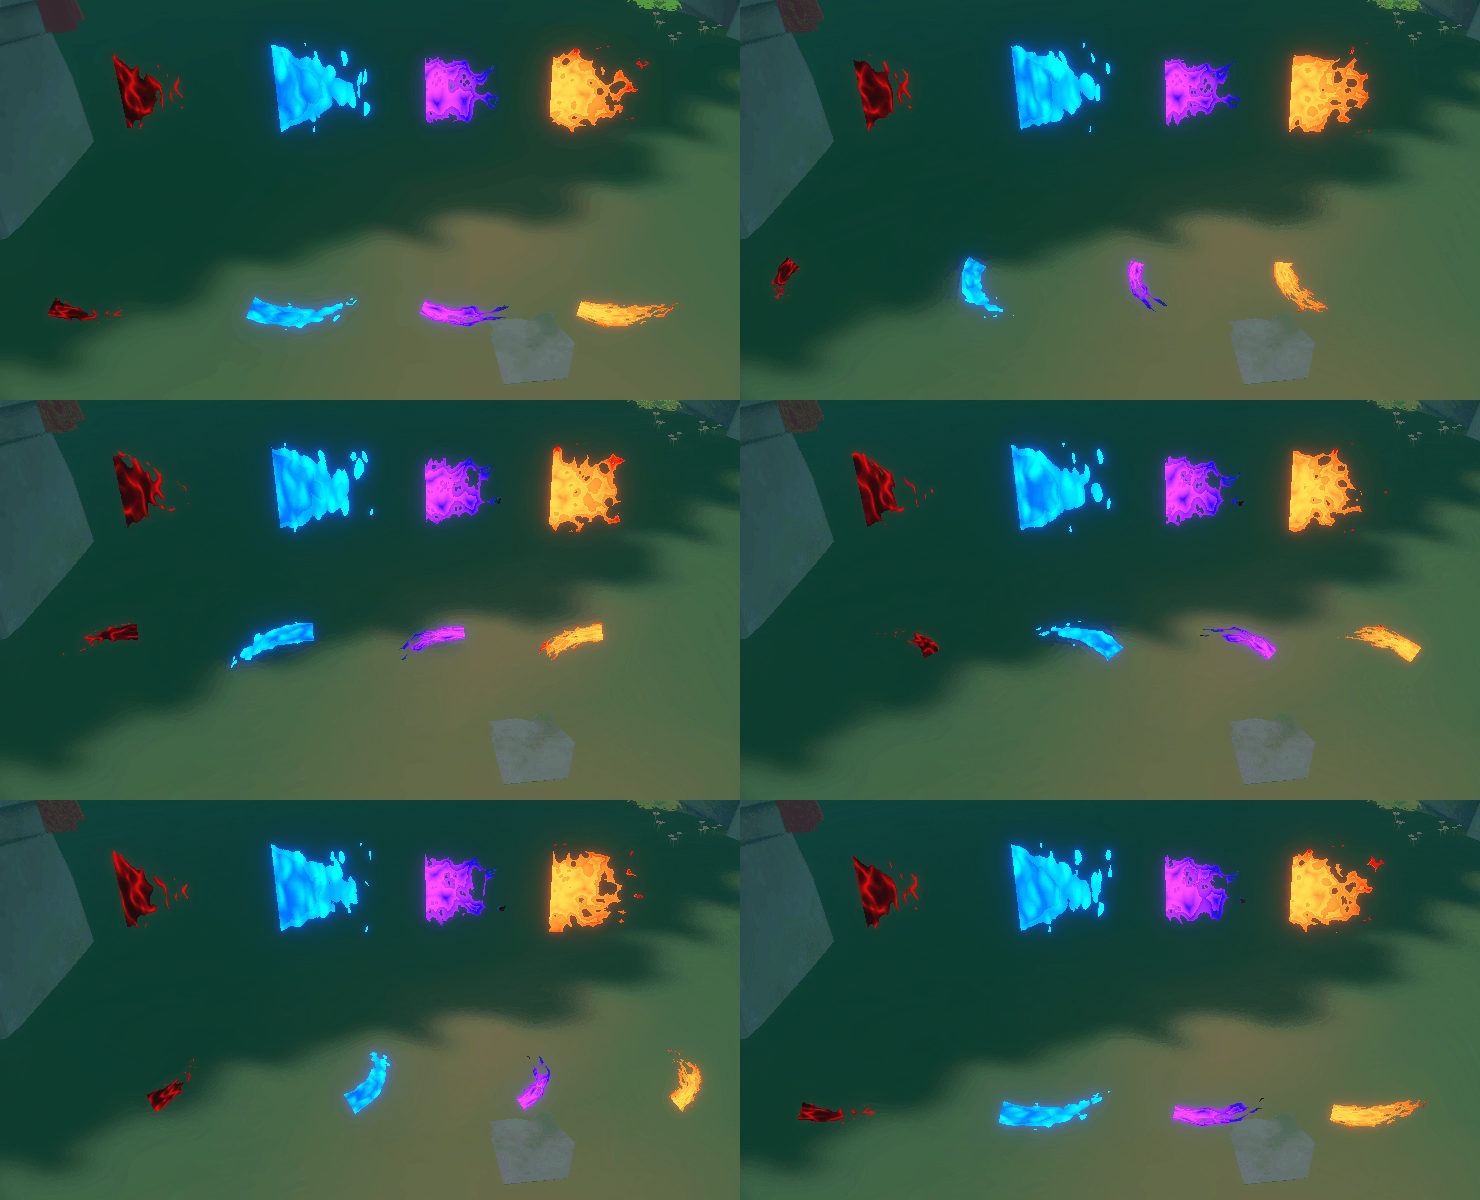
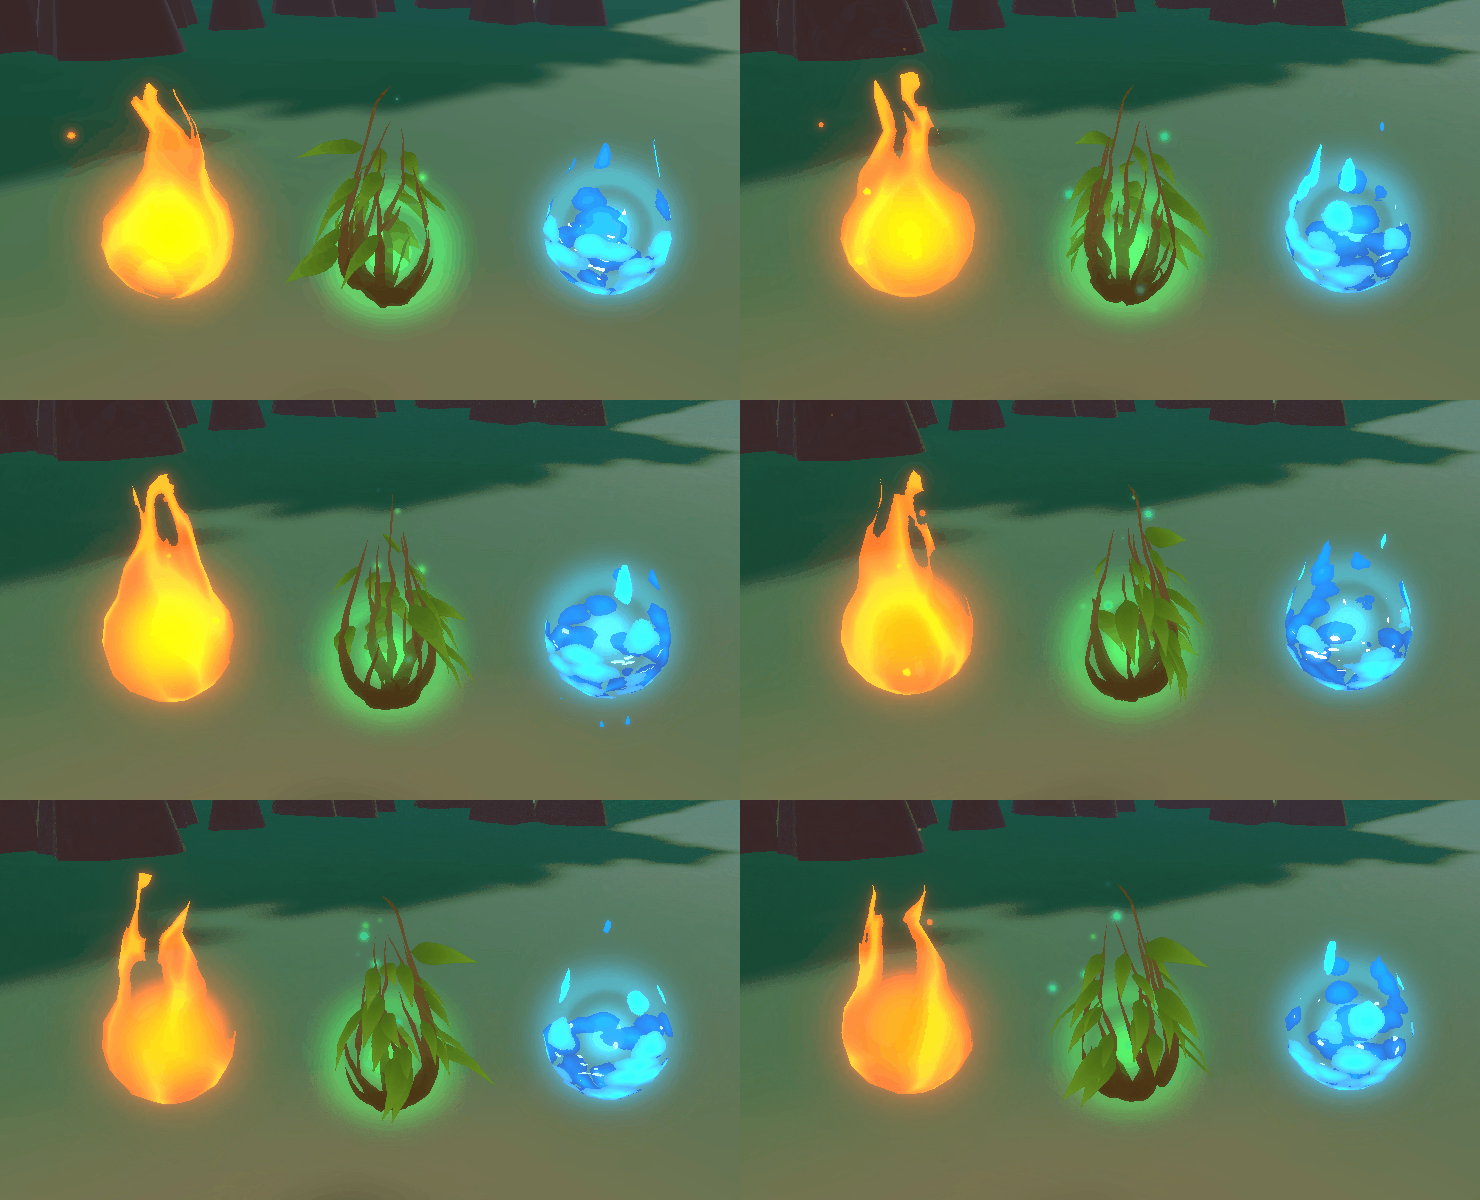
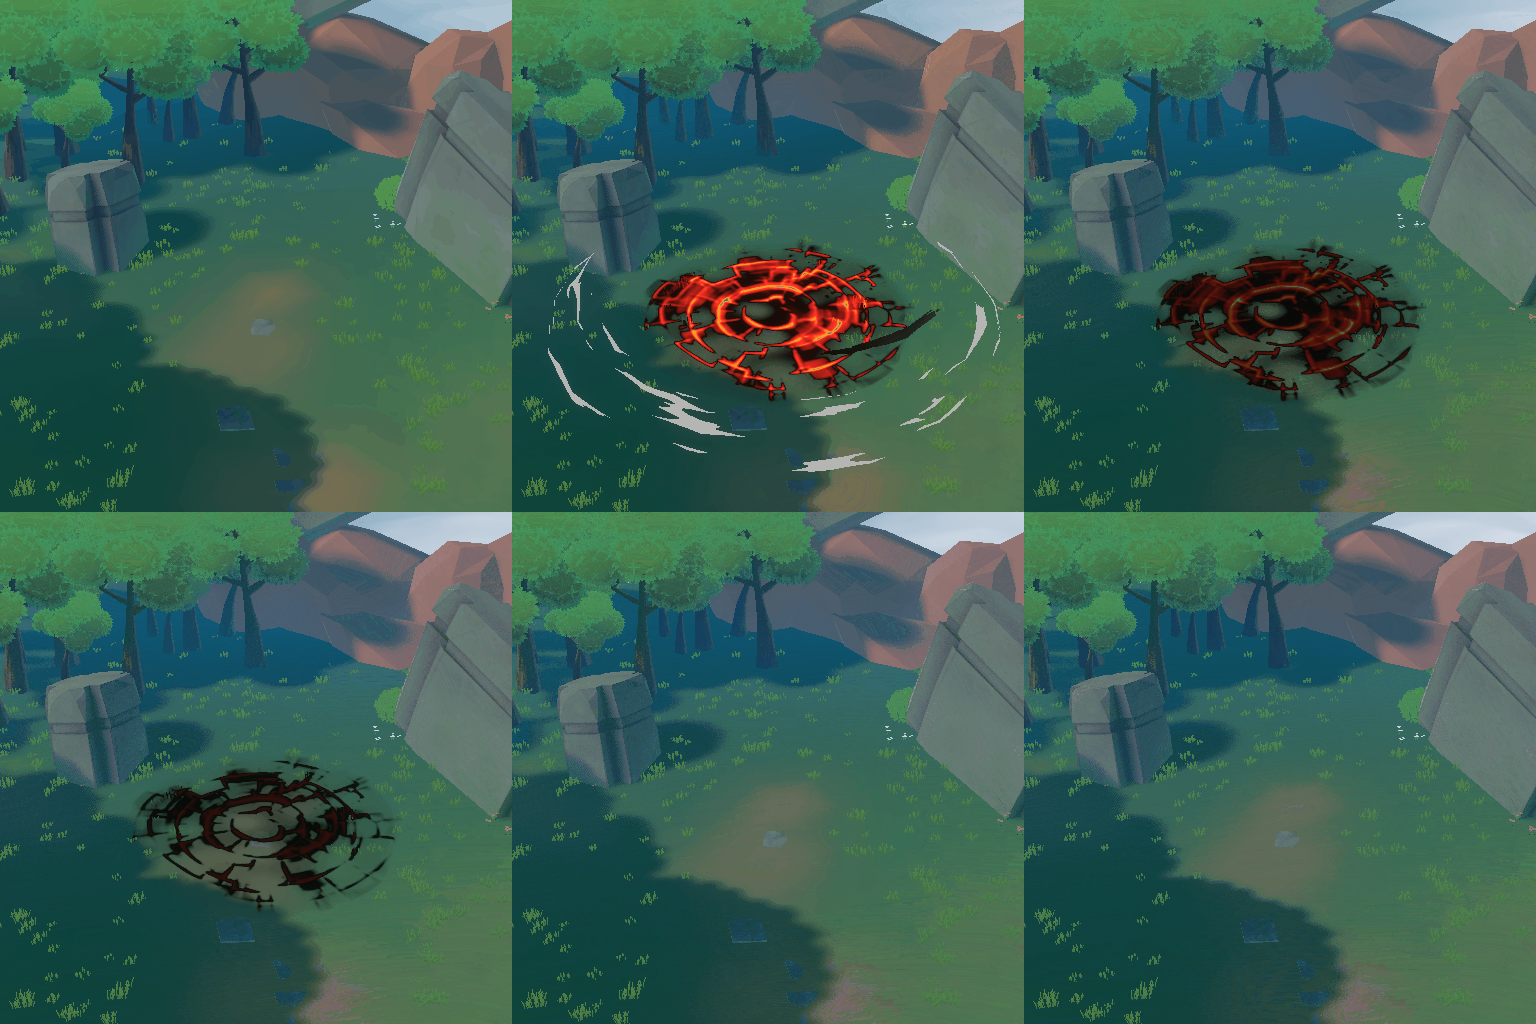
And that's it! That wraps up this shader, I will share some of the effects I made with this shader below, I used Unity's Particle System and Visual Effects Graph.
Some of these effects are made with other shaders as well.
Thanks for reading!
If you have any questions hit me up!


In the general overview of your graph I can see that you have some nodes to rotate the UVs, in the group "UV rotation", but the image is too low res to understand what those are. Would you mind clarifying that step, please?